
At 7 Stars Tint, they pride themselves on precision, quality, and care. With years of experience in residential, commercial, and automotive tinting, the team understands how to protect your investment. Their high-quality films are designed for scratch resistance, UV protection, and long-lasting clarity giving your home both comfort and class.
From installation to aftercare, their experts ensure your tint remains in perfect condition for years to come.
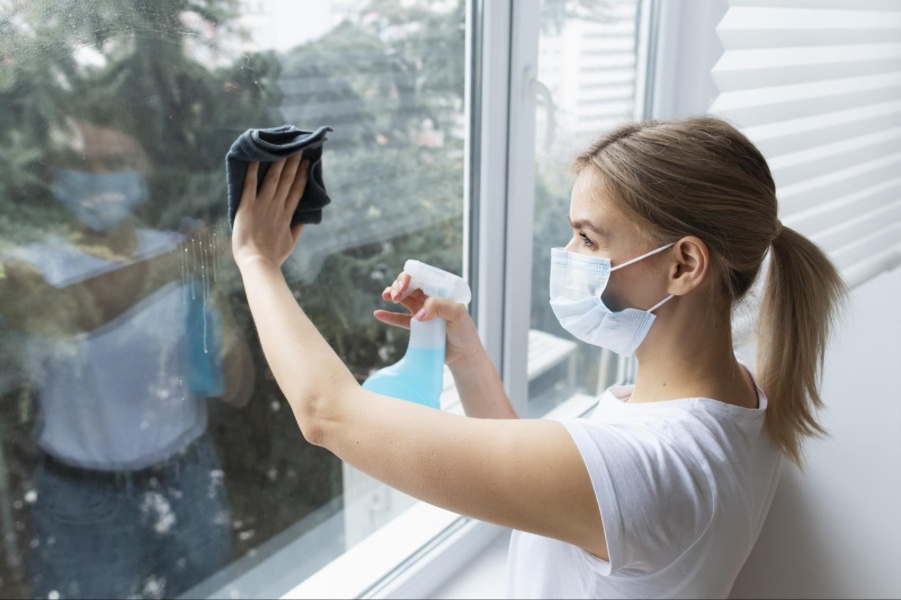
Tinted windows do much more than enhance your home’s aesthetics. They block UV rays, reduce glare, and help regulate indoor temperatures. However, improper cleaning methods — like using harsh chemicals or abrasive cloths can cause scratches, discoloration, and even film lifting.
By understanding what materials and techniques are safe, you can protect your investment and keep your tint performing at its best for years.
Before diving into cleaning, it’s important to know what kind of tint you have. Each type of film requires slightly different care.
If you’ve had professional tinting installed in Melbourne homes, like those offered by Residential Window Tinting, you’re likely enjoying high-quality, durable films that resist scratching and fading. Still, even premium films need gentle, consistent care to maintain their look and functionality.
It’s easy to make small cleaning errors that lead to long-term tint damage. Avoid these common mistakes:
For safe and effective cleaning, you’ll need:
Avoid anything that contains alcohol, vinegar, or harsh chemicals these can damage the film or leave streaks.
Mist the cleaner onto the tint do not drench it. Excess liquid can seep into the film’s edges, potentially lifting it.
Use your microfiber cloth to gently wipe the glass in a circular motion. Start from the top and work downward to prevent drips.
Lightly glide the squeegee over the surface to remove any remaining liquid or residue. Wipe the blade clean after each stroke to avoid streaks.
Use a dry microfiber cloth to gently buff the tint and ensure no moisture remains.
Even the best cleaning habits can’t fully prevent wear and tear but you can minimize the risk of scratches with the right approach.
Here are a few scratch-proof film tips to extend your tint’s life:
To learn more about durable tint technologies and how they differ, check out 7 Stars Tint’s detailed post on the top benefits of ceramic tint vs carbon tint. While focused on vehicles, these materials and techniques offer insight into how tint quality affects longevity in residential use too.
When it comes to safe cleaning for tinted windows, gentle methods are always the most effective. Avoid shortcuts or aggressive products.
Here’s what works best:
After you’ve cleaned your tinted windows, maintaining them properly ensures they stay looking new.
If you ever need personalized guidance or want to schedule maintenance, you can easily contact for expert support and service recommendations.
Cleaning frequency depends on your environment. Homes near busy roads, construction sites, or coastal areas may need cleaning every two weeks due to dust and pollution.
For most homes, once every 4–6 weeks is ideal.
The key is to avoid letting dirt sit too long the longer it stays, the harder it becomes to remove safely.
At 7 Stars Tint, they pride themselves on precision, quality, and care. Learn more about their years of experience in residential, commercial, and automotive tinting — where the team understands how to protect your investment. Their high-quality films are designed for scratch resistance, UV protection, and long-lasting clarity, giving your home both comfort and class.
From installation to aftercare, their experts ensure your tint remains in perfect condition for years to come.
Professional tint maintenance not only protects your film but also enhances your home’s comfort and appearance. Experts ensure:
By trusting professionals, you avoid costly film replacements and keep your tint looking fresh for years.
Sustainability is becoming a key focus for many homeowners. You can clean safely and stay eco-conscious by using biodegradable, ammonia-free cleaners. Simple DIY solutions made with distilled water and a drop of baby shampoo work perfectly.
Avoid using paper towels or old t-shirts they can contain rough fibers that damage the tint surface. Always stick with soft microfiber materials.
Clean, well-maintained window tint doesn’t just enhance your home’s appearance it also protects your comfort and privacy. By following these residential tint cleaning tips, avoiding abrasive tools, and adopting regular maintenance, you’ll preserve your film’s beauty and performance for years to come.
And when in doubt, trust Melbourne’s leading tinting experts 7 Stars Tint for professional advice, maintenance, and high-quality tinting solutions that combine style with long-lasting protection.
Wait at least 7–10 days before cleaning newly installed tint. This allows the adhesive to fully cure and prevents peeling or bubbling.
Use a mild, ammonia-free solution or a mix of distilled water and a drop of gentle soap. Avoid alcohol-based or acidic cleaners.
Minor surface scratches can sometimes be minimized, but deep scratches usually require professional inspection or film replacement.
Typically every 4–6 weeks, depending on your environment. Frequent light cleaning helps prevent buildup and damage.
Yes — professionals ensure the film remains scratch-free, streak-free, and properly maintained, extending its lifespan significantly.